
As a homeowner, I’ve experienced my fair share of household repairs, but few issues can be as daunting as dealing with a damaged garage door panel. A damaged panel not only affects the functionality and security of your garage but can also impact your home’s curb appeal.
I’ll share my experiences and insights into the process of replacing a damaged garage door panel, offering a comprehensive guide for homeowners facing this common issue according to Garage Door Repair.
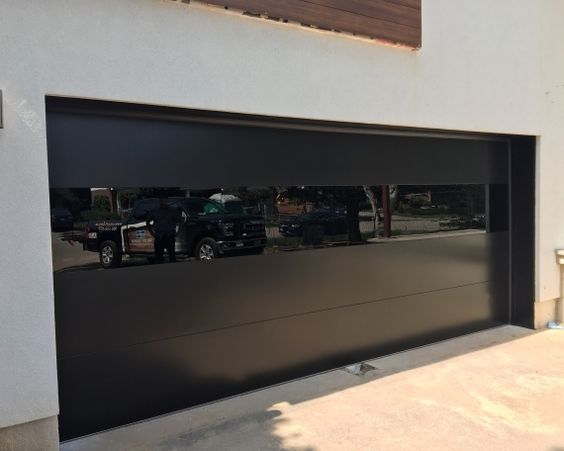
The Impact of a Damaged Garage Door Panel
A garage door is more than just a functional entry point for your vehicles and belongings; it’s also a prominent feature of your home’s exterior. When a garage door panel becomes damaged, whether due to an accident, weather, or other factors, it can affect both the appearance and operation of your garage door. Here are some common reasons garage door panels may get damaged:
- Accidental Impact: From backing into the garage door to a basketball hitting it, accidents can lead to dents or more severe damage.
- Weather and Wear: Over time, weather conditions, like hail or extreme temperatures, can cause panels to warp, crack, or deteriorate.
- General Wear and Tear: The constant opening and closing of the garage door can lead to wear on the panels, potentially causing them to weaken or become damaged.
- Incorrect Installation: In some cases, poor installation or a lack of reinforcement can lead to panel damage.
The Benefits of Replacing a Damaged Panel
Replacing a damaged garage door panel offers a range of benefits for homeowners:
1. Improved Appearance
A damaged panel can significantly impact the overall appearance of your home. Replacing it will restore the curb appeal and ensure your home looks its best.
2. Enhanced Security
A damaged panel can compromise the security of your garage, making it easier for unauthorized access. Replacing the panel ensures your garage remains secure.
3. Functionality
A damaged panel can lead to operational issues, such as difficulty in opening or closing the garage door. Replacing it ensures smooth and reliable functionality.
4. Prevent Further Damage
A damaged panel can worsen over time, affecting adjacent panels and other components. Replacing it early can prevent further damage and costly repairs.
The DIY vs. Professional Consideration
Before embarking on the process of replacing a damaged garage door panel, it’s essential to decide whether this is a DIY project or one that requires professional assistance. Several factors can influence your decision:
- Skill Level: Assess your own skill level and comfort with tools and DIY projects. Replacing a garage door panel can be a complex task that requires precision and knowledge of the system.
- Tools and Equipment: You’ll need specific tools and equipment to replace a garage door panel, and you should be comfortable using them.
- Safety: Safety is paramount. Working on a garage door can be hazardous, especially if you’re not experienced. Professional technicians are trained to handle these situations safely.
- Time and Convenience: Replacing a garage door panel can be time-consuming. Consider whether you have the time to complete the project efficiently.
- Warranty Considerations: If your garage door is under warranty, attempting a DIY repair may void the warranty. It’s essential to check the terms and conditions of your warranty before proceeding.
Steps for Replacing a Damaged Garage Door Panel
If you decide to replace a damaged garage door panel yourself, here’s a step-by-step guide to help you through the process:
Step 1: Gather Materials and Tools
Before you begin, make sure you have the necessary materials and tools:
- Replacement panel
- Wrenches or pliers
- Screwdrivers
- Pry bar or plunger (for panel removal)
- Sawhorses
- Helper (for larger panels)
- Safety gear, including gloves and safety glasses
Step 2: Disconnect the Opener
To ensure safety, disconnect the garage door opener from the power source. This prevents any accidental activation during the panel replacement.
Step 3: Remove the Damaged Panel
- Carefully remove any trim or weatherstripping surrounding the damaged panel.
- If there are any bolts or screws securing the damaged panel to the frame, use the appropriate tools to remove them.
- Depending on the type of garage door, you may need to use a pry bar or a plunger to detach the damaged panel from the track. Exercise caution to avoid further damage.
Step 4: Prepare the New Panel
- Before attaching the new panel, ensure it matches the size and style of the existing panels.
- If necessary, trim or adjust the new panel to fit properly.
- Apply any insulation or seals according to the manufacturer’s instructions.
Step 5: Install the New Panel
- Carefully slide the new panel into place, ensuring it fits securely in the tracks.
- Reattach any bolts or screws to secure the panel to the frame.
- If you have a helper, their assistance can make this step more manageable, especially with larger panels.
Step 6: Reattach Trim and Weatherstripping
- Reattach any trim or weatherstripping that was removed earlier. This step helps ensure the garage door is properly sealed.
Step 7: Reconnect the Garage Door Opener
Once the new panel is securely in place, you can reconnect the garage door opener to its power source.
Step 8: Test the Door
Operate the garage door to ensure it opens and closes smoothly with the new panel. Be attentive to any unusual noises or difficulties in operation.
Step 9: Paint and Finish
If the new panel does not match the color of the existing panels, you may want to paint it to achieve a consistent appearance. Be sure to follow proper painting procedures.
Professional Assistance
If you’re unsure about your ability to replace a garage door panel or if you have a complex or custom garage door system, it’s wise to seek professional assistance. Garage door technicians have the expertise and experience to handle panel replacements safely and efficiently. They can also ensure that the new panel matches the existing panels in terms of style and color, maintaining the overall aesthetic of your garage door.
Conclusion
A damaged garage door panel is a common issue that many homeowners encounter, and it’s a problem that can impact the security, appearance, and functionality of your garage. Whether you choose to tackle the replacement as a DIY project or seek professional assistance, the benefits of replacing a damaged panel are significant.
Overall, based from Garage Door Repair, as a homeowner who has faced this issue, I can attest to the difference it can make in restoring the curb appeal of your home, enhancing security, and ensuring your garage door operates smoothly. Whether you’re a seasoned DIY enthusiast or prefer to leave it to the experts, addressing a damaged garage door panel is a crucial step in maintaining your home’s value and comfort.
Denzel Garage Door of Miami
310 NW 25th St, Miami, FL 33127, United States
786-882-8745